


Price Match
Now via Live Chat
Price Match
Now via Live Chat
Free Shipping
When you spend over £50
Free Shipping when you spend over £50
Easy Returns
Just call for a return number
Next Day Delivery
Need it fast?
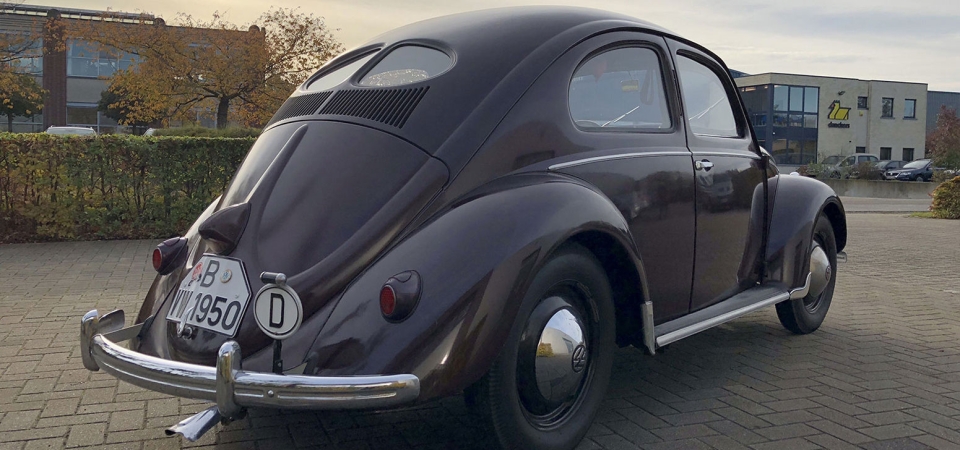
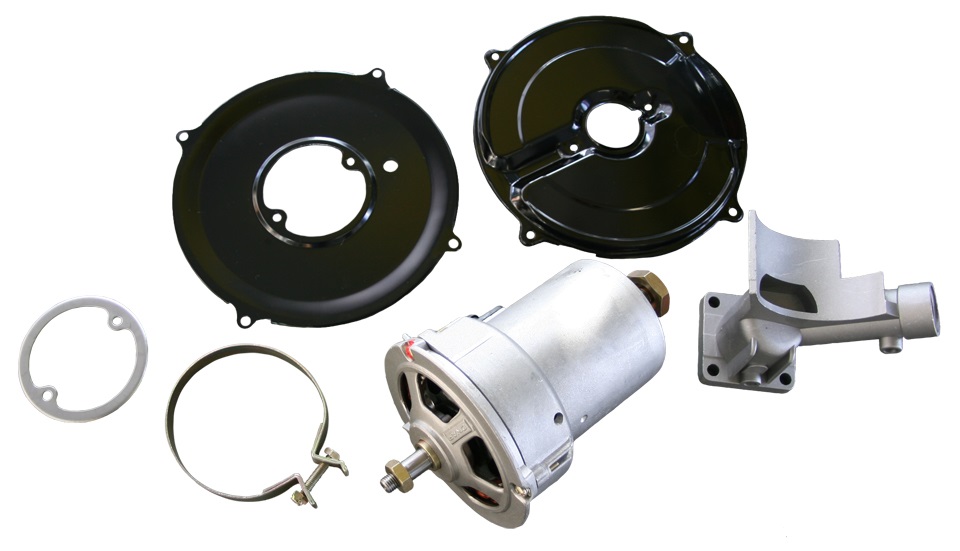
One of the most common upgrades to any Air Cooled Volkswagen is to convert the basic electrical charging system from a dynamo (generator) to an Alternator.
This can be done to any upright 1200cc, 1300cc, 1500cc or 1600cc Type 1 engine with one of our alternator conversion bundle kits.


It can also be used on 6 Volt systems as part of a 12 volt conversion but only on engines that have a removable dynamo stand (So not 25HP and 30HP engines manufactured before 1960). Please note however other parts will be required. But we have got you covered with one of our 6 volt to 12 volt conversion kits.
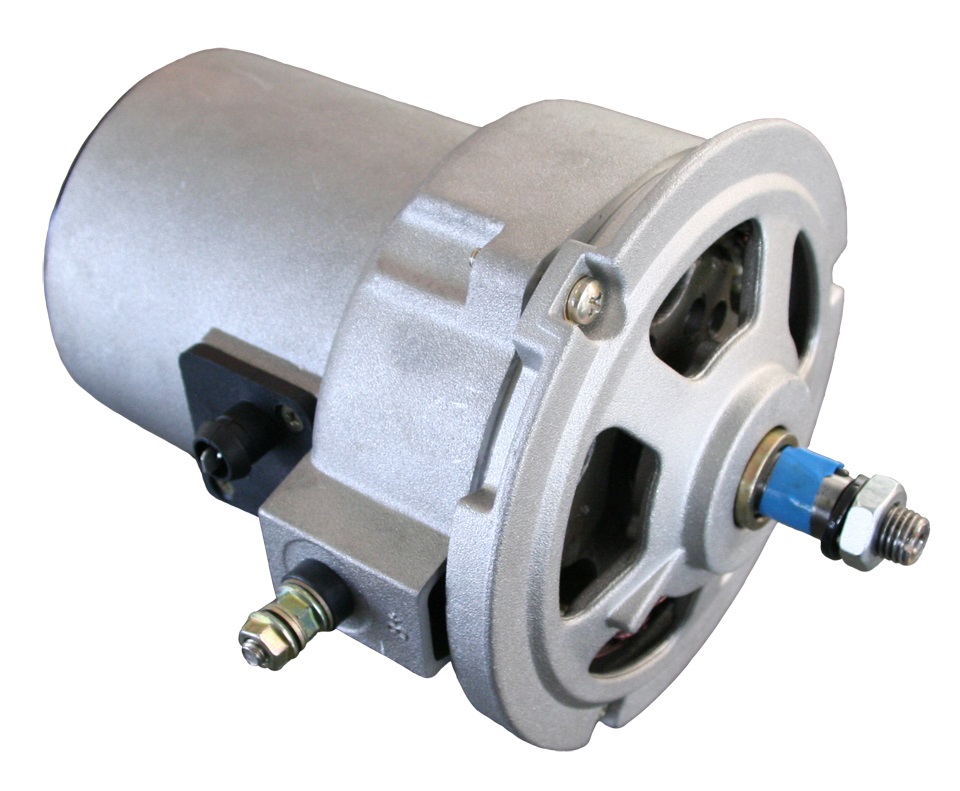
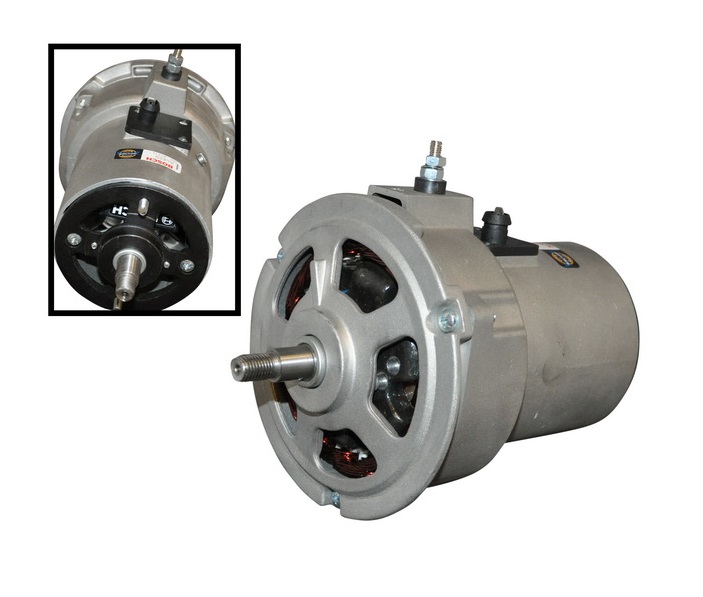
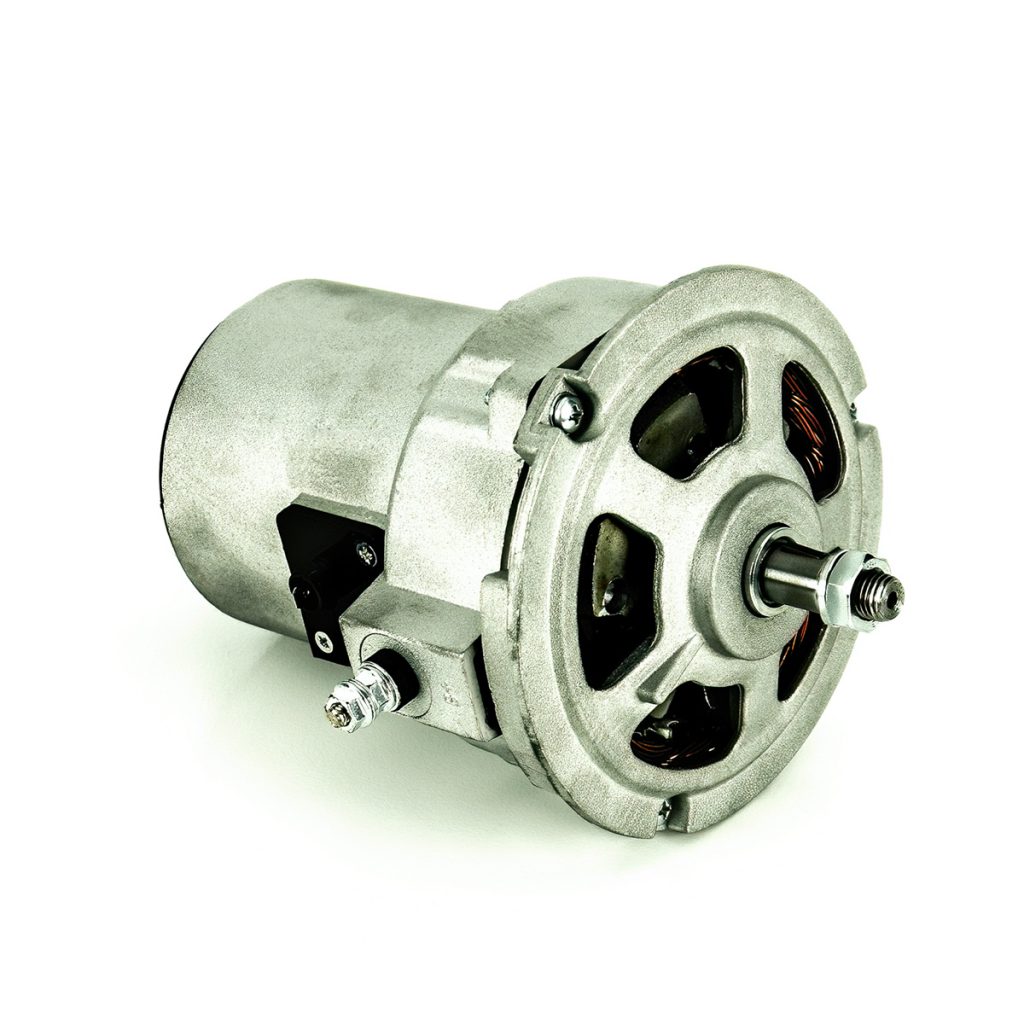
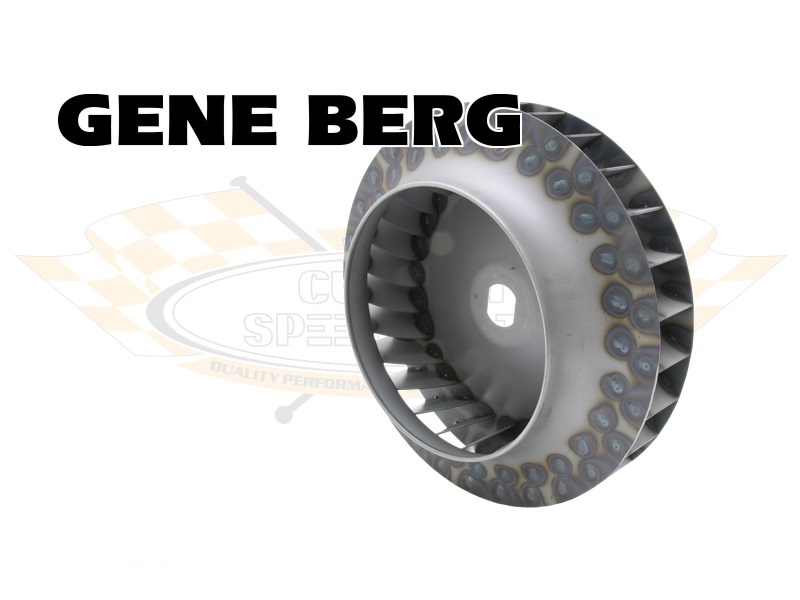
The alternator used in this kit is based around the style of the original Bosch AL82X alternator. It was fitted as standard to some models in the 1970’s.
Kits can be quite easily installed as long as you have some basic tools and knowhow. If you are in any doubt, then the job should take around 2-3 hours for an experienced air-cooled specialist mechanic.
Once you have purchased your kit then installation should be carried out as follows.
Once this is done you are safe to proceed without the fear of melting any of your other electrics in the car.
Your original regulator for the Dynamo will not work on your new alternator (which has a regulator built inside on the versions that we sell). So therefore you need to remove your original regulator from the system. You can choose to remove it all together or leave it in place and just disconnect and re-wire it.
On Beetles and Karmann Ghia’s the regulator is located under the rear seat on the left hand side (opposite the battery).
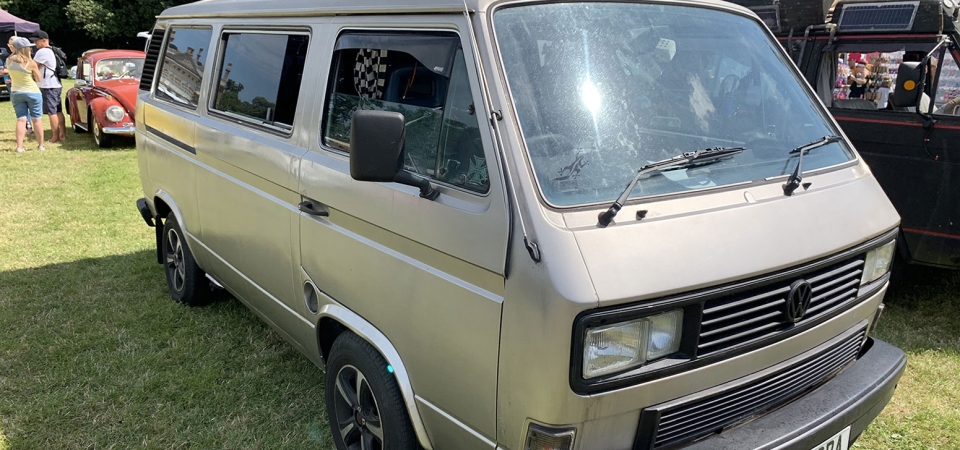
On Splitscreen and Baywindow Buses the regulator is mounted on the right hand side of the firewall inside the engine bay. In both cases it has several wires going in and out of the regulator but we only need to worry about two of them.
Terminal B+ on the regulator has a large RED wire coming directly from the battery. This wire needs connecting directly to the new Alternator B+. You will need to extend this wire in the case of the Beetle as obviously it was originally designed to only go to the rear seat location. In this case simply take the wire diagonally opposite the B+ on the Regulator and join them together.
Terminal 61 on the regulator (usually a small blue wire) is used to power the warning light on your dash. This terminal is usually on the same side but opposite corner as the terminal B+. This again needs to go directly to the alternator. It needs connecting to the spade terminal further up the body of the alternator towards the backing plate. As with the Red lead on Beetles and Ghia’s you can use the wire diagonally opposite on the original regulator to get the wire to the engine compartment.
All of the other wires on the regulator are no longer needed so they can be removed from the vehicle. If you wish to leave them in place then you can. Just tape up the end with some insulating tape to make sure they are safe.
Alternator conversions can be installed with the engine still in the vehicle but believe me it is far easier with the engine removed. The time it takes to get the engine out and in again will be quicker in the long run than fiddling about in the engine bay, trying to get the dynamo out and alternator in with the fan house not being able to be removed because of head height in the engine bay or the deck lid hinges getting in the way. It can be done but you will probably use some colourful language when doing it.
First of all you need to disconnect the fan belt which connects the top pulley (on the end of the Dynamo) to the crankshaft pulley. Most pulleys have a notch in the back of them that will allow you to use a flat head screw driver to lock the pulley against the Dynamo so you can undo the pulley nut.
Next you need to undo the strap that holds the Dynamo onto its stand.
The Dynamo is mounted to a backing plate which is bolted onto the fanshroud with 4 bolts. You need to remove these bolts (1 in each corner).
Once they have been removed the Dynamo, backing plate and cooling fan will come out of the fanshroud. This is where it becomes a little awkward if the engine is still in the car.
In order to get the unit with the fan out of the fanshroud you will need to remove the two bolts holding the fanshroud onto the head shrouds (1 either side of the engine). You may also need to loosen the inlet manifold to give you enough clearance to get the unit out. Please note that if you still have your original thermostat which controls the flaps inside the fanshroud fitted then this will need removing first before you can lift the fanshroud up. The thermostat is bolted onto a bracket under the right hand barrels. Remove this bolt and then you can unscrew the thermostat off of the rod that it is attached to.
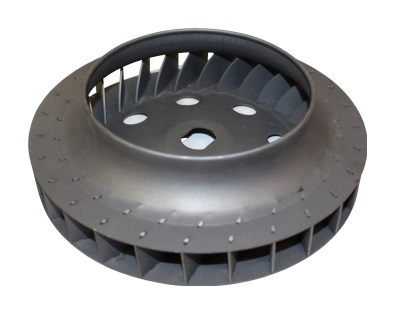
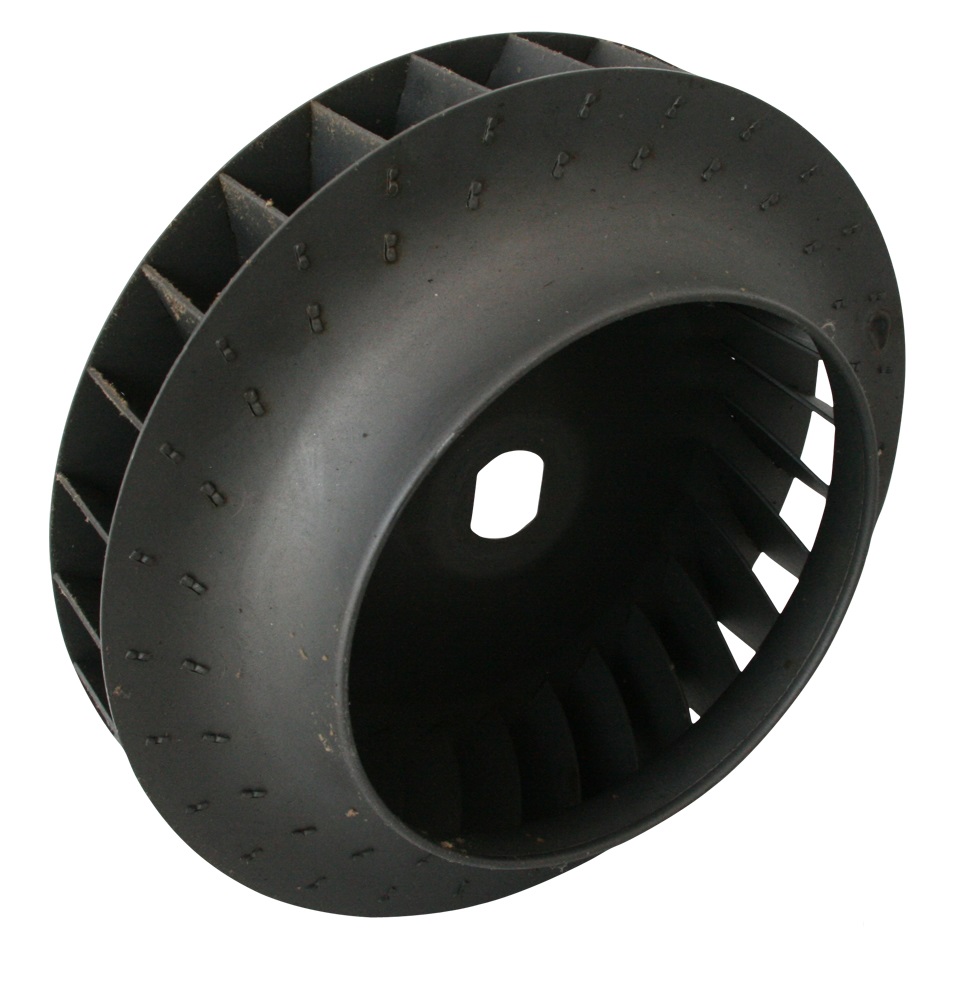
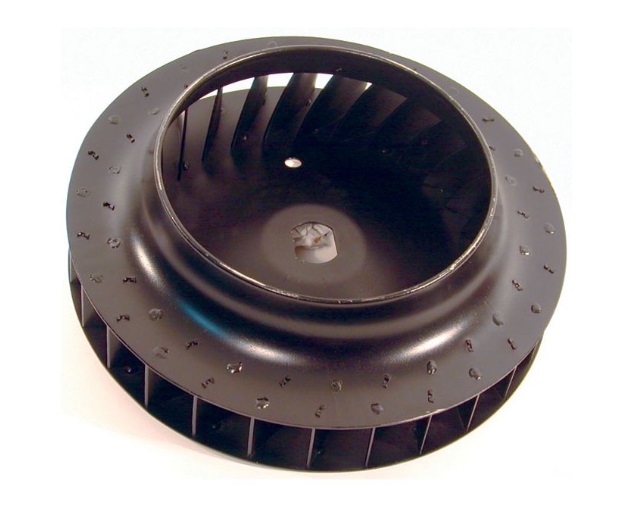
With all that done you should now be able to lift the Dynamo out with the backing plate and fan still attached. It’s now time to inspect your cooling fan to make sure there is no damage. If all the fins are in good order then it can be re-used. If there is any damage to the fan then it is better off to replace it. Single Port and Twin Port engines use different fans which are not interchangeable. The Single Port version is thinner than the Twin Port version. But don’t worry we have you covered whatever you have. If you do have a twin port engine then why not upgrade you fan to a welded version? These are a must for higher revving engines as the original fans tend to explode under high rev’s.
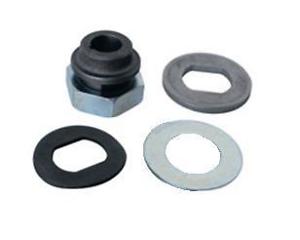
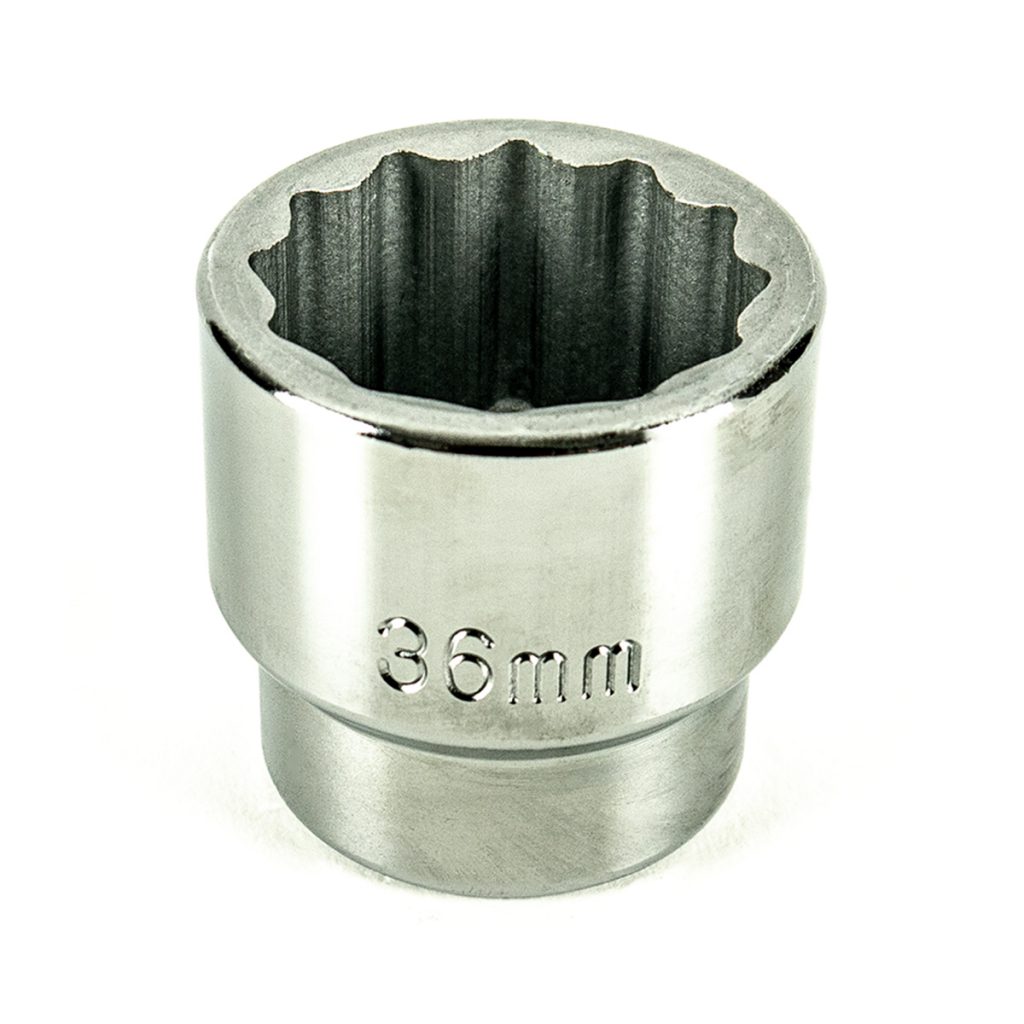
If you are using your original fan then take the unit over to a vice on your work bench. Clamp the Dynamo in the vice and lock the front pulley as before with a screwdriver in the slot. Using a 36mm socket undo the nut holding the fan onto the end of the Dynamo. Make sure you remove not only the fan but all the shims and washers as you will need to re-use these unless you are buying new. If you have any issues, lose a piece or something is damaged then we sell cooling fan fitting kits.
Now that you have you fan removed (or you have a brand new one) you need to assemble the alternator onto its backing plate along with the fan and fan fitting kit. There are 3 parts to the backing plate. An inner, an outer and a spacer ring.
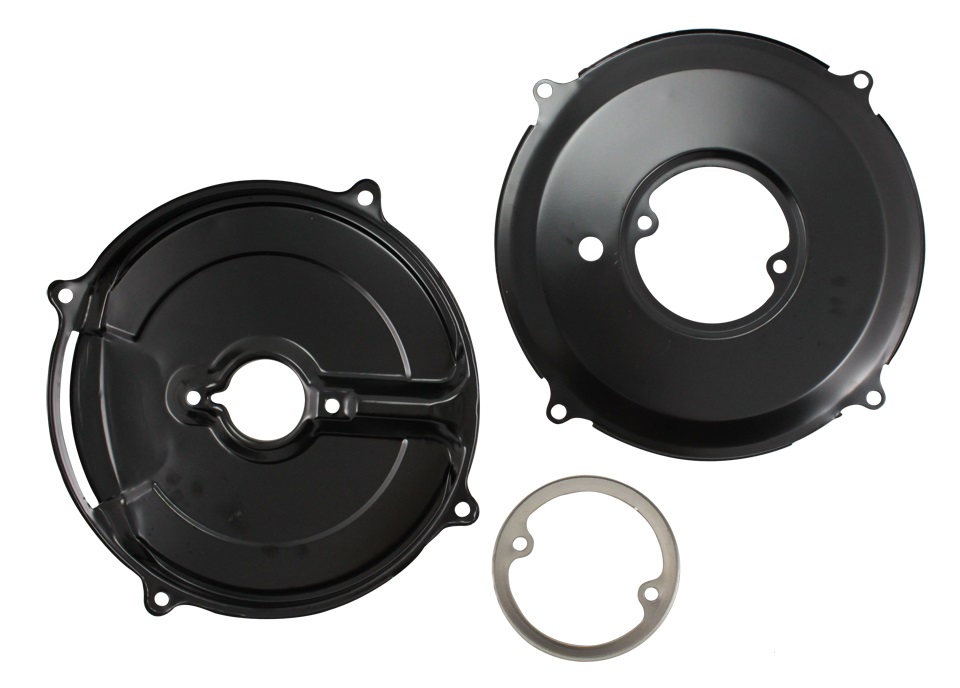
Mount the outer backing plate onto the alternator first with the hole (if it has one) towards the bottom. Next goes the spacer ring and then finally the inner backing plate. The spacer ring is sandwiched between the two plates. The backing plates should all slide over the two studs on the back of the alternator and then fixed in place with a pair of nuts and washers.
Once your backing plates are tight onto the back of the alternator (do not over tighten and snap the studs) you can then mount the fan onto the back of the alternator using the original hardware in the same order it came off. Tighten the nut up and then spin the alternator with the fan mounted on the back and make sure that the fan is free and not catching on the backing plate. If it is then you may need to bend the backing plate slightly or fit another shim or two. Not too many shims though as it will throw out the alignment of the pulleys.
You can now mount the alternator back into the fanshroud with the 4 bolts and then mount the fanshroud properly back onto the engine. Re-install the thermostat if you had one and if you have had to remove or loosen the inlet manifold then you can now do all this back up again.
Once happy install the new strap around the alternator but do not tighten it up fully yet.
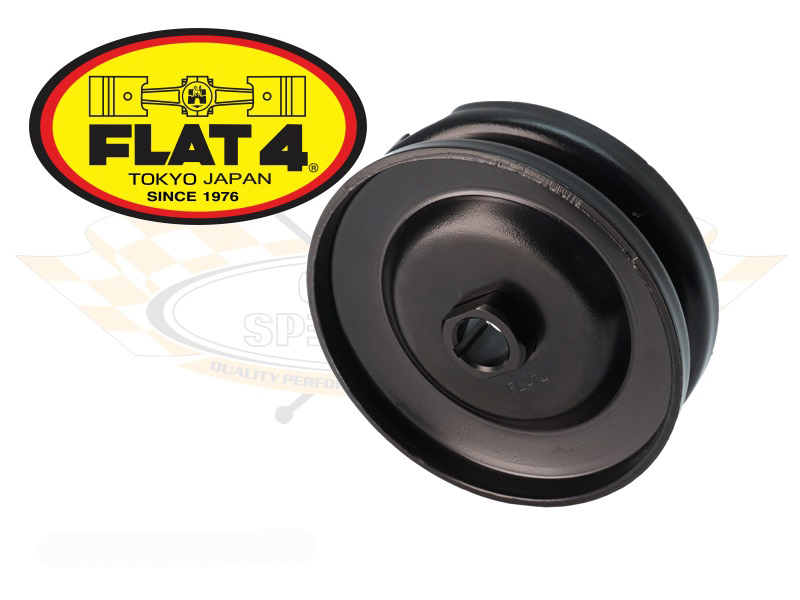
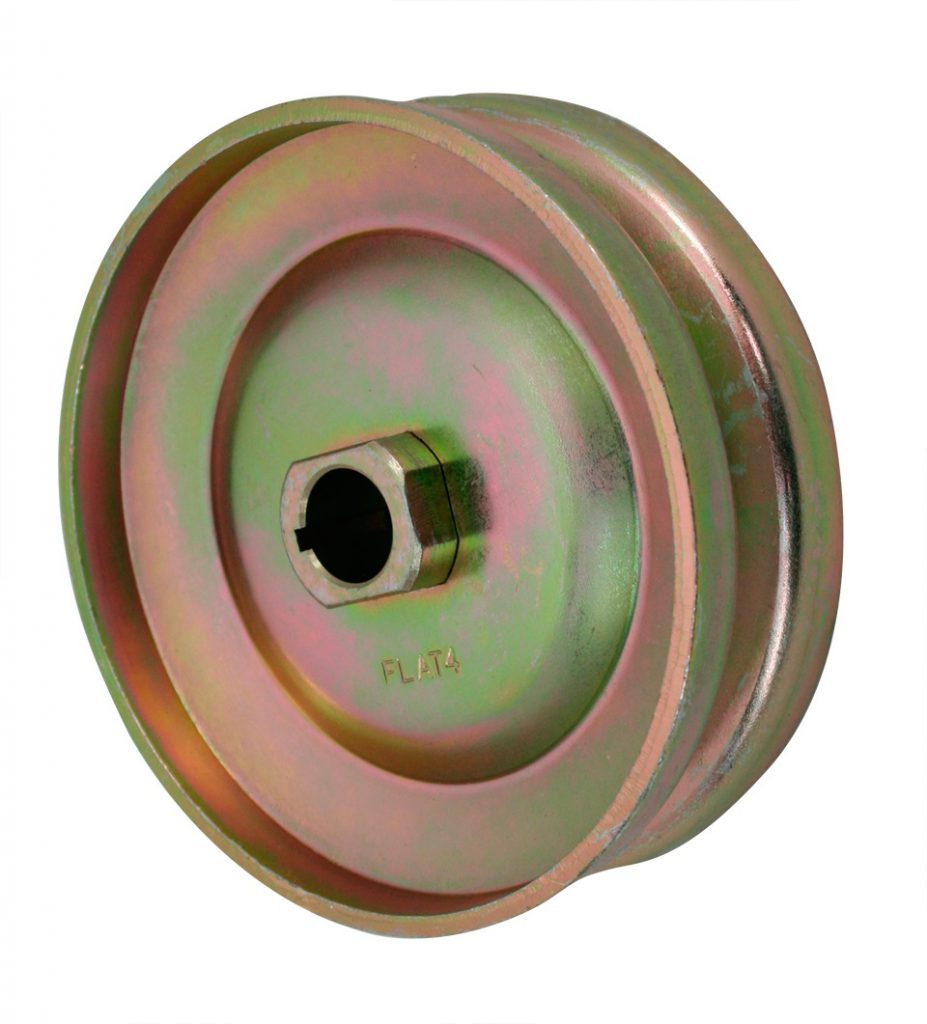
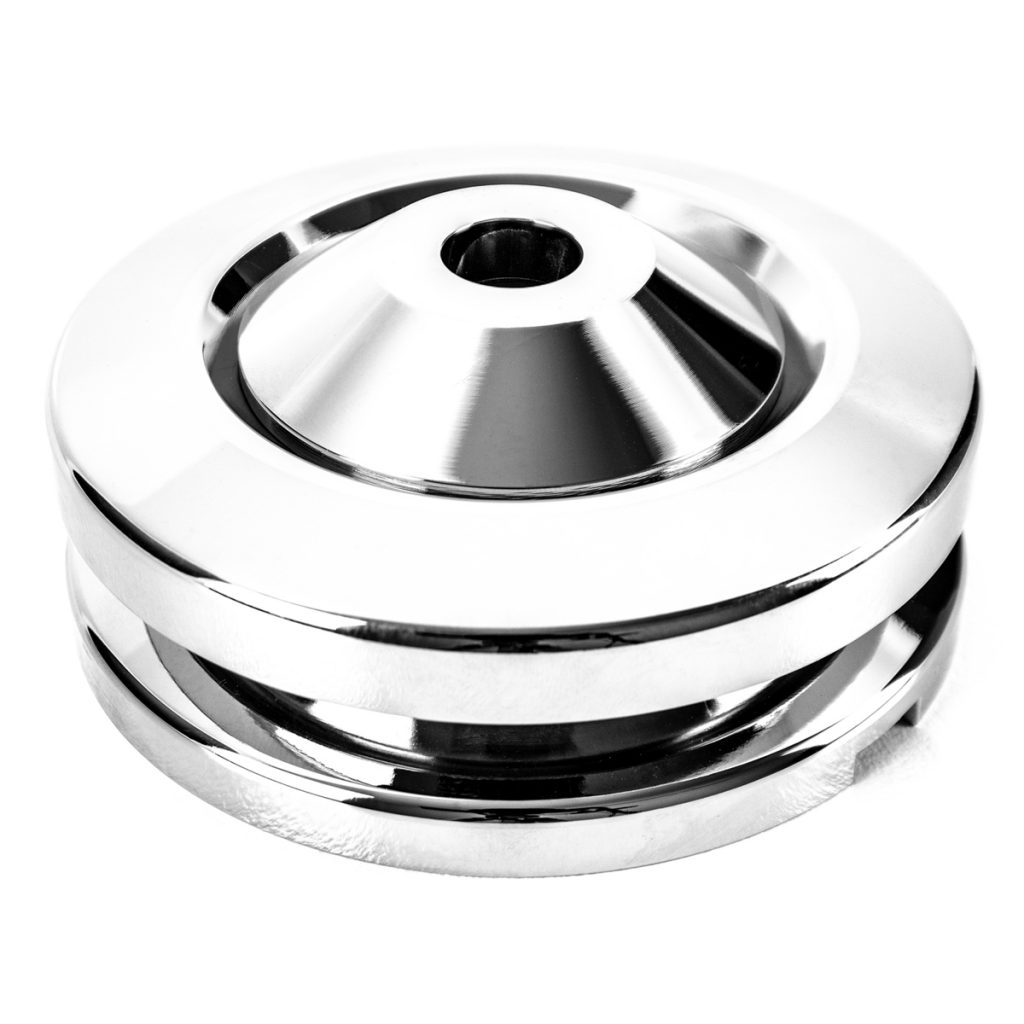
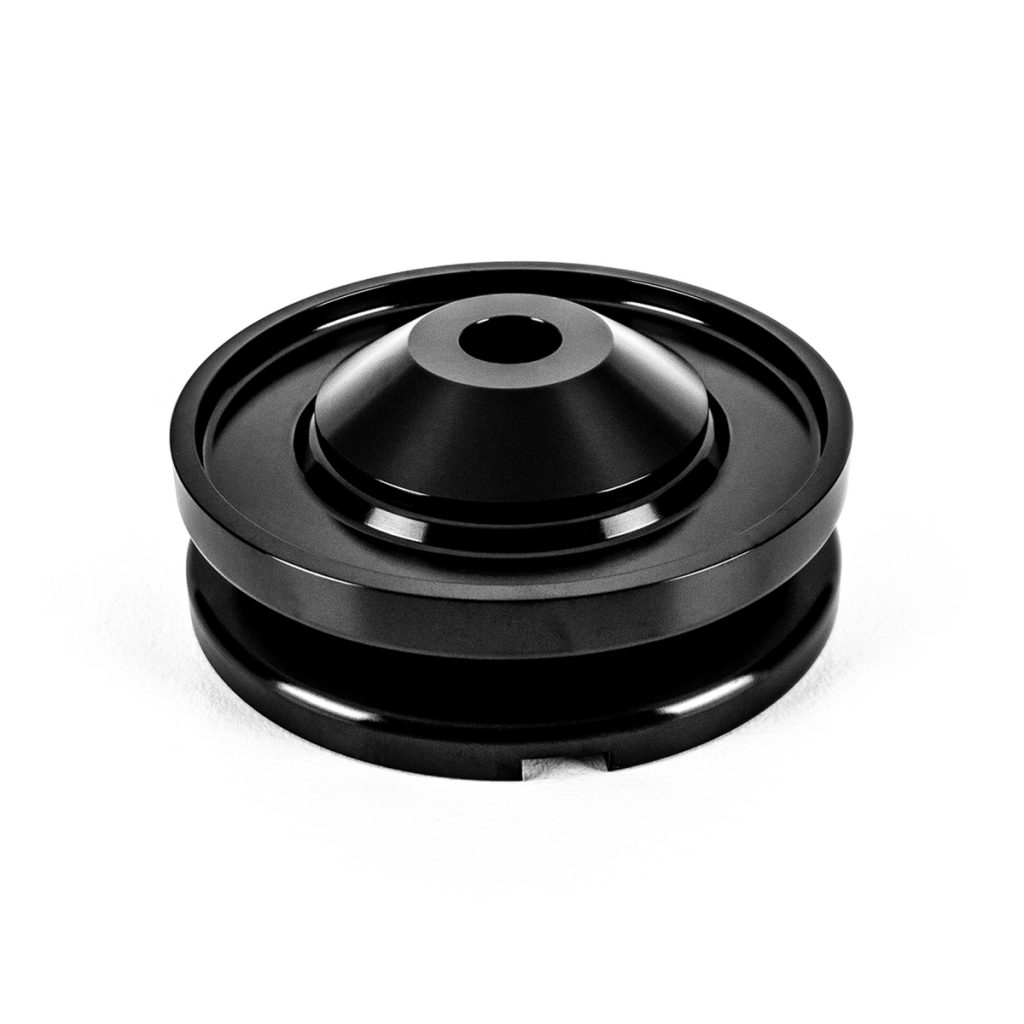
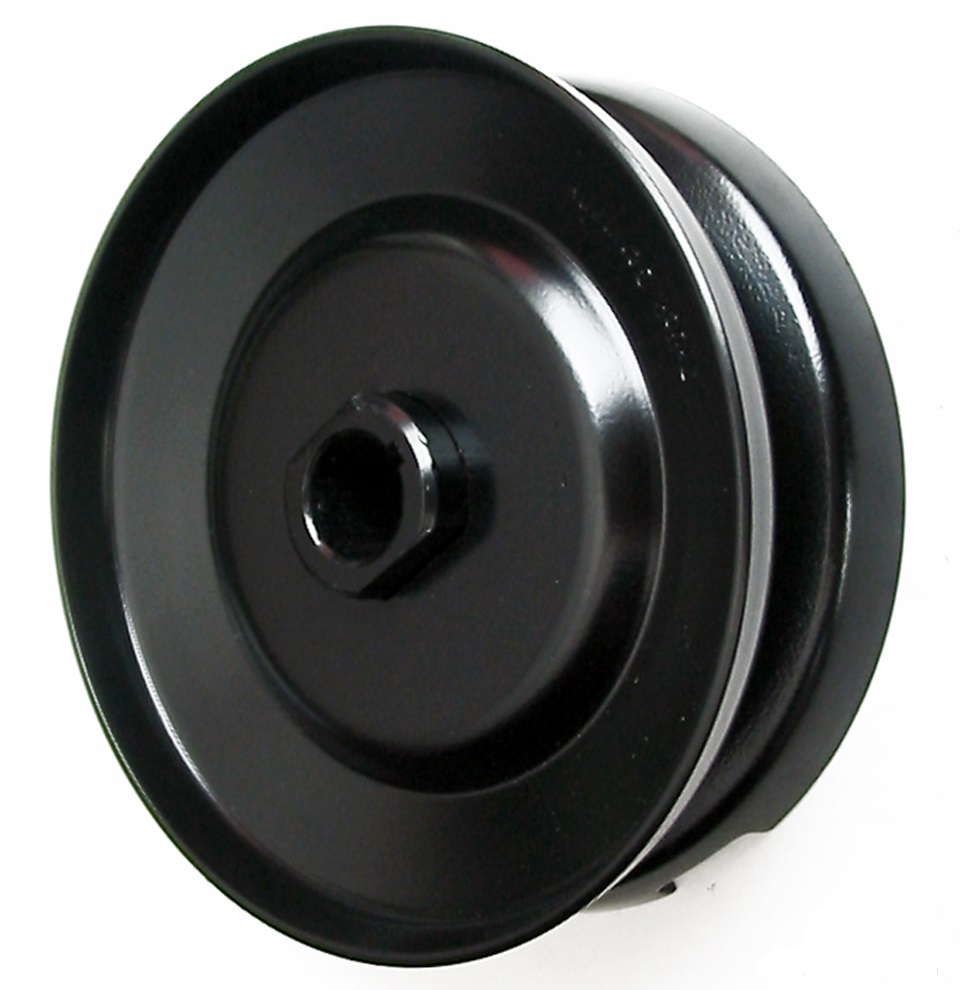
You can now install your original pulley or one of our new pulleys onto the new alternator you have just fitted.
A 38 AMP GR17X generator was originally equipped on your Bus. This generator is slightly longer than the 30 AMP GR15X generator fitted to all other models and is also longer than the alternators supplied in our kits. These 38 AMP generators use a different backing plate and pulley which are stepped in so that the fan belt will line up with the lower crankshaft pulley. These pulleys cannot be used with our kits so you will need to buy a new pulley.
Your engine once fired up is going to turn your crankshaft very fast. Most engines will run between 1000RPM and 5000 RPM and some high powered custom engines may get in the realms of 7000RPM. Once your alternator is connected to the crankshaft via the fan belt it is going to turn even faster because it is a smaller pulley. Therefore it is vital that the top and bottom pulleys are perfectly in line with each other.
If your pulleys are not aligned then 1 of 3 things will happen:
So believe me you don’t want any of this to happen.
There is some movement in the tinware which is why I told you not to do the strap up tight yet. By pushing and pulling on the fanshroud the alternator assembly will move back and forward a bit. Once the pulley is aligned then tighten the strap up. Before you go any further however you need to spin the alternator to make sure the fan is not scraping against the backing plates or inside the fanshroud itself. If it is then loosen the strap again until any scraping sound does not occur.
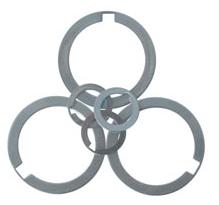
If you find yourself in a position that you can’t get the pulley’s to align without a scraping sound happening inside the fanshroud then you are going to need some pulley shims.
Pulley shims come in a pack that has shims for both the top and bottom pulley. The shims are placed either behind the alternator pulley between the pulley and the alternator itself, behind the crankshaft pulley between the crankshaft pulley and the crankshaft or a combination of both. So get yourself a kit.
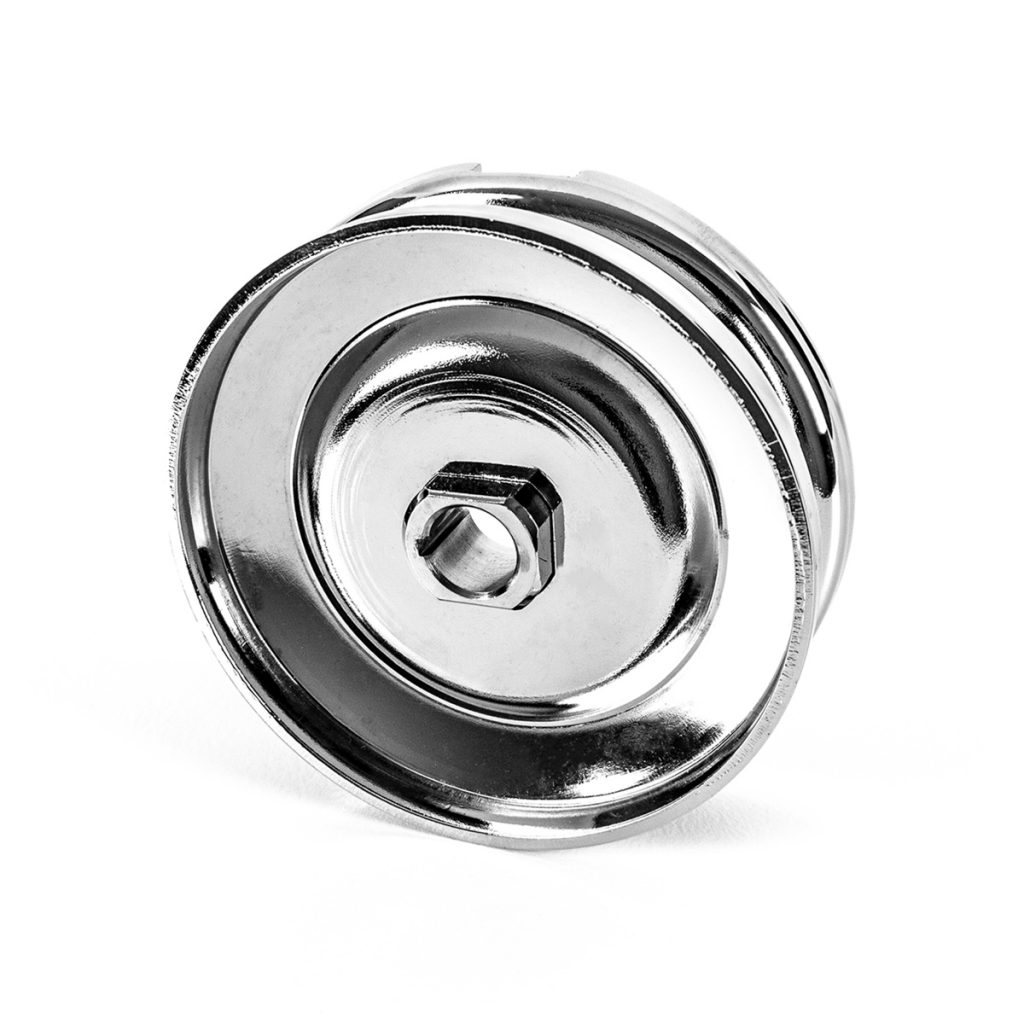
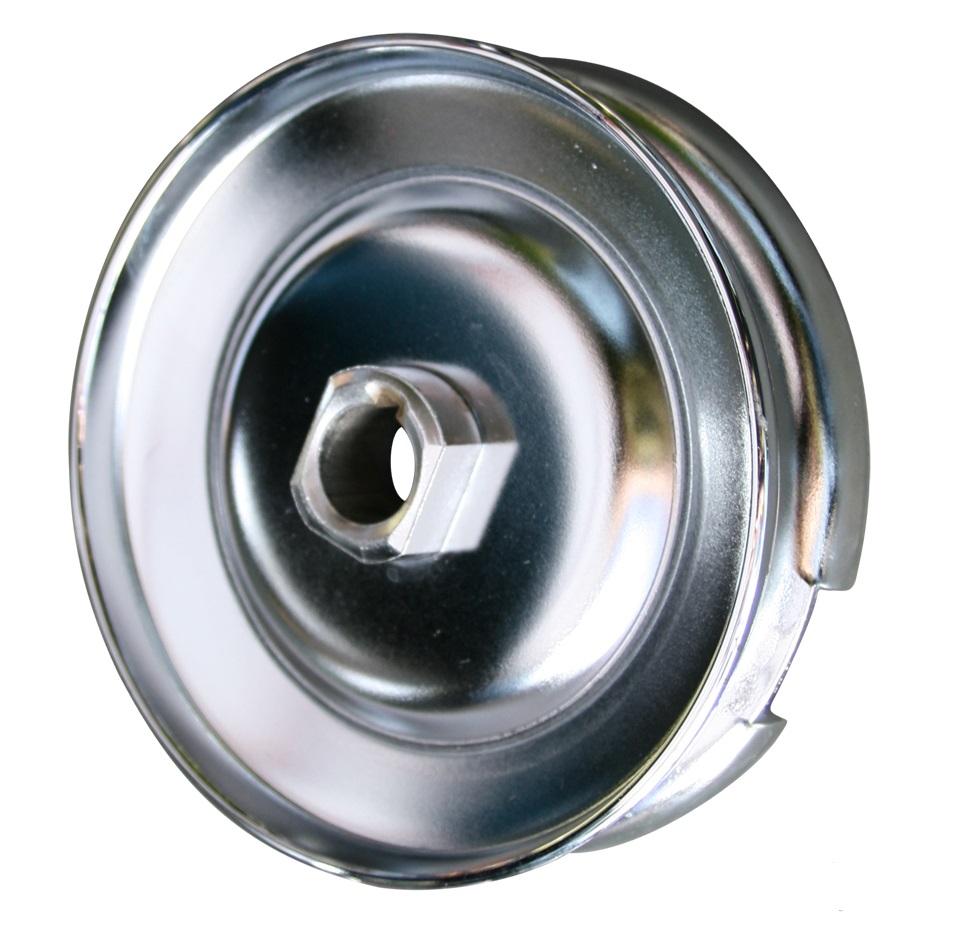
Once your pulleys are lined up then you can fit your fan belt. The top pulley requires 10 shims. Start off by putting 5 shims between the two pulley halves and 5 shims behind the top pulley nut and washer and tighten the nut up. The fan belt should have movement of around 10mm. If you have more than 10mm then you need to remove some shims from in between the pulley halves to behind the pulley nut. If the fan belt is tight with very little movement then move some shims from behind the pulley nut to in-between the pulley halves. These shims can be used to adjust the tension of the belt when it starts to wear over time. So the more it wears the more shims you need to remove from inside the pulley to behind the nut.
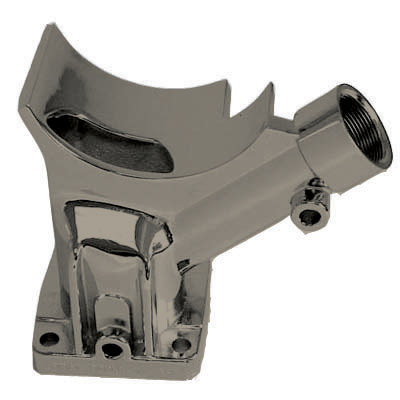
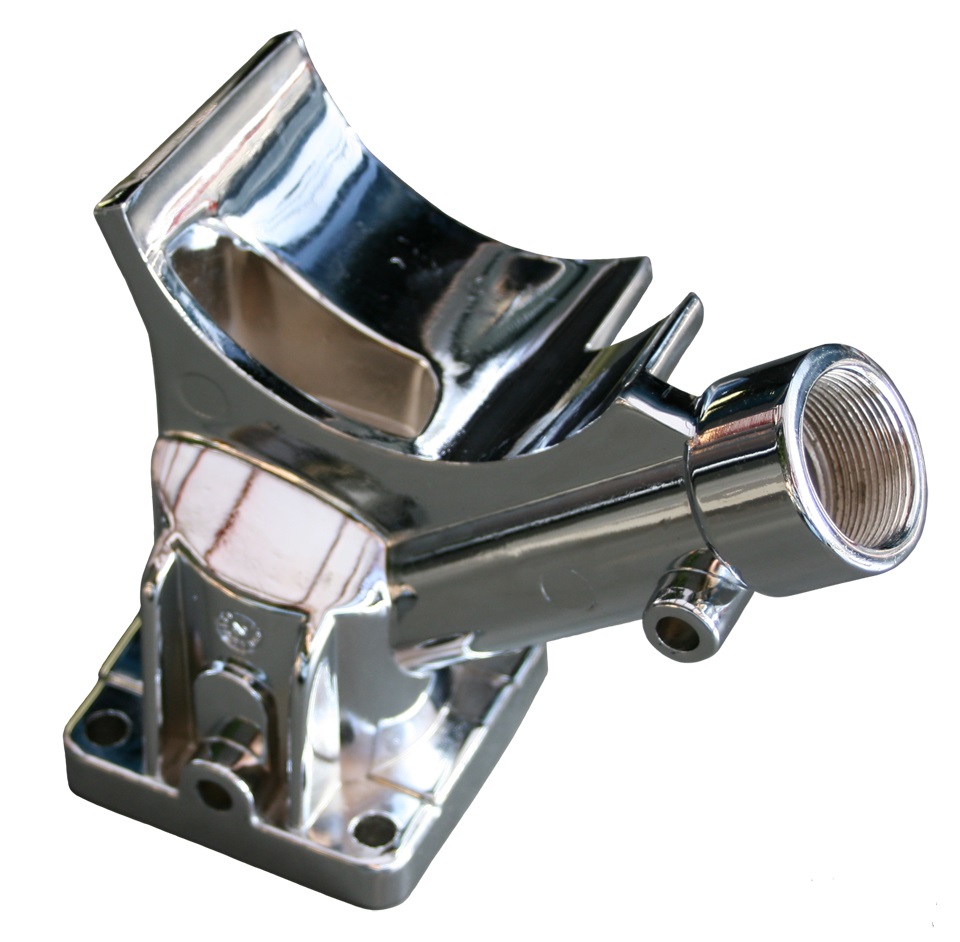
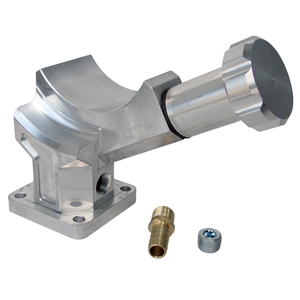
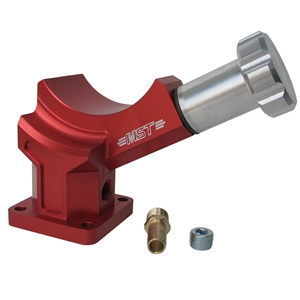
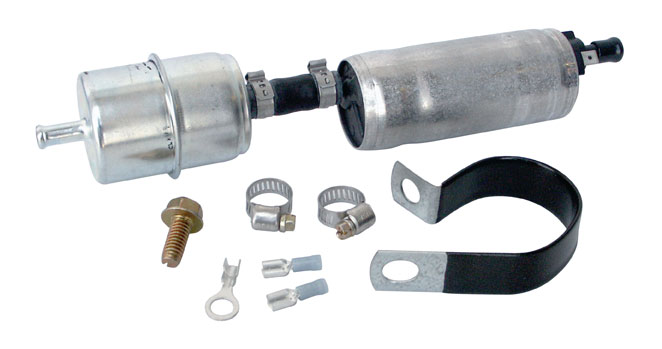
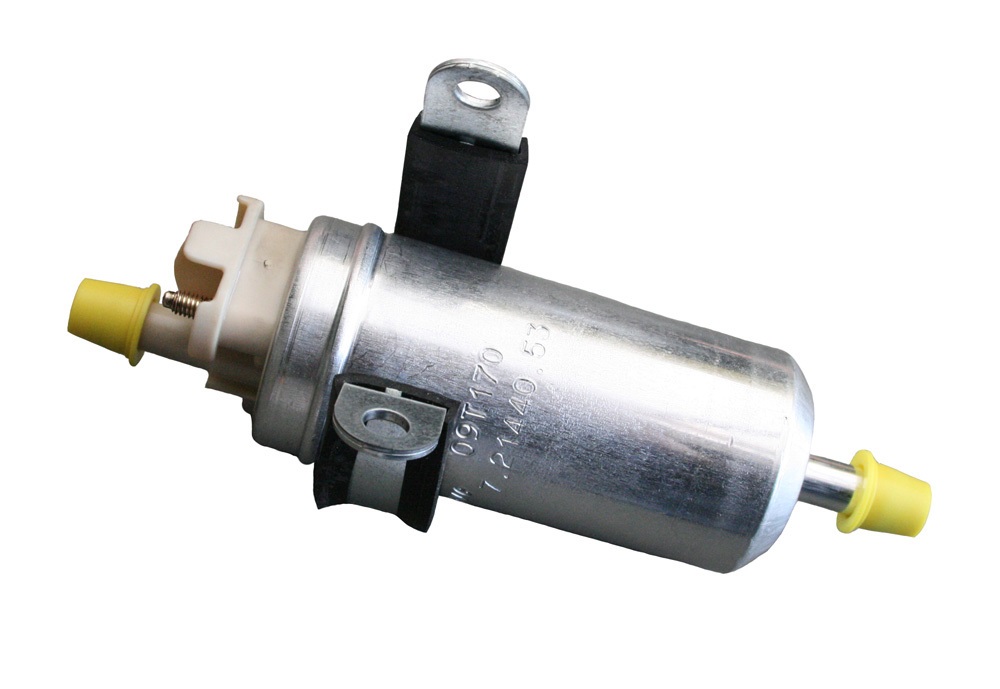
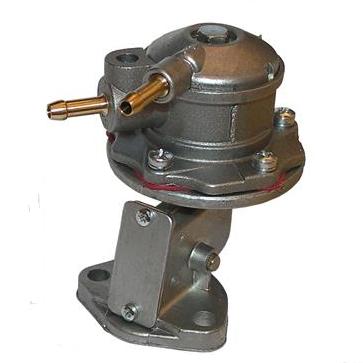
If you have an original dynamo fuel pump fitted to your engine then you may have to change this to an alternator version.
Alternator versions have a slight angle built into them and both the inlet and outlet pipes are on the side. So if your fuel pump is touching the alternator or you can’t get the fuel hoses onto the pump because they our fouling on the alternator casing then you will need to change it. These can be purchased in a bundle kit with the alternator or can be purchased separately.
Note however that if you change to an alternator fuel pump then you will also need to change the rod that activates the fuel pump. Alternator fuel pump rods are 100mm long and dynamo fuel pump rods are 108mm long. You must make sure that you run the correct length rod with the correct pump to avoid damage.
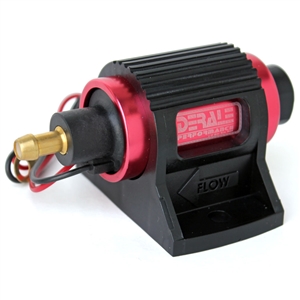
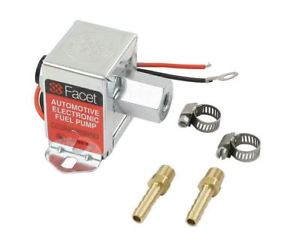
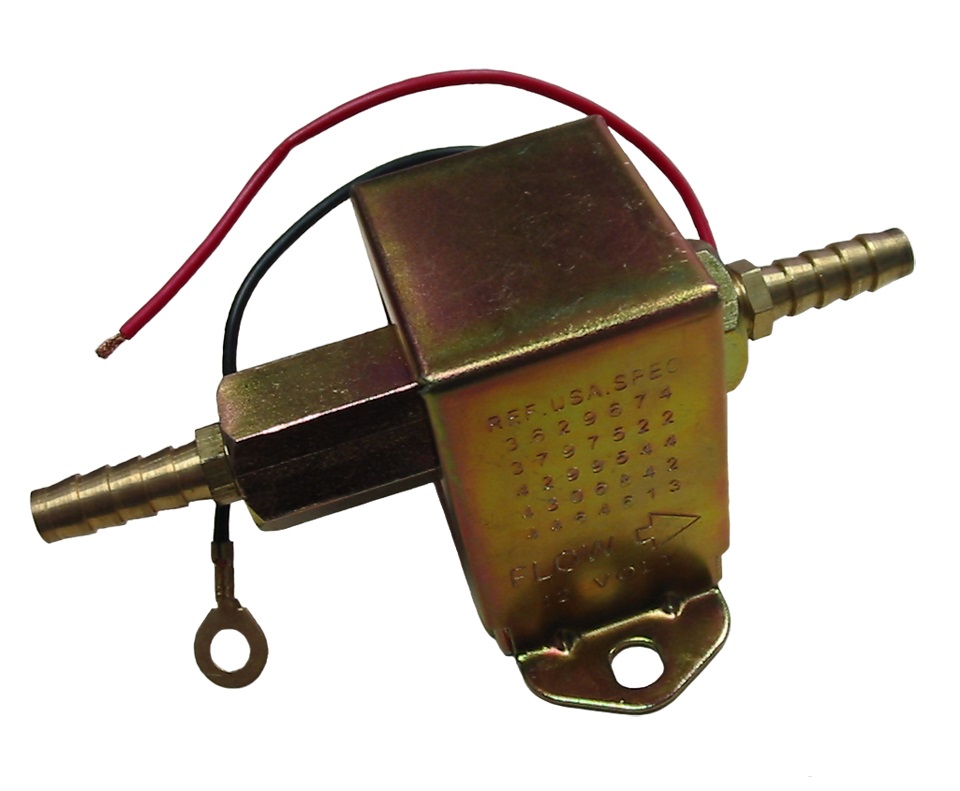
Or you can do away with the mechanical pump all together and install an electric fuel pump. The choice is yours.
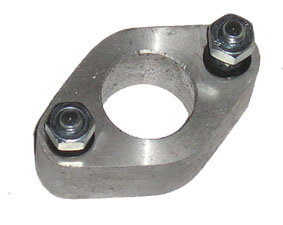
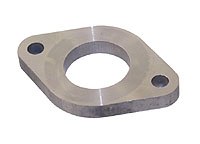
Depending on which carburettor you have fitted you may require a carburettor spacer. Carburettor spacers locate between the inlet manifold and the carburettor. Once installed they will raise the carburettor up stopping it from fouling on the alternator casing.